Last updated November 17, 2026

Free written scope consultation - allowances, timeline, and change-order rules on paper before a single trade is scheduled
Driveway & Pavers Maintenance Checklist for Coral Gables Homeowners
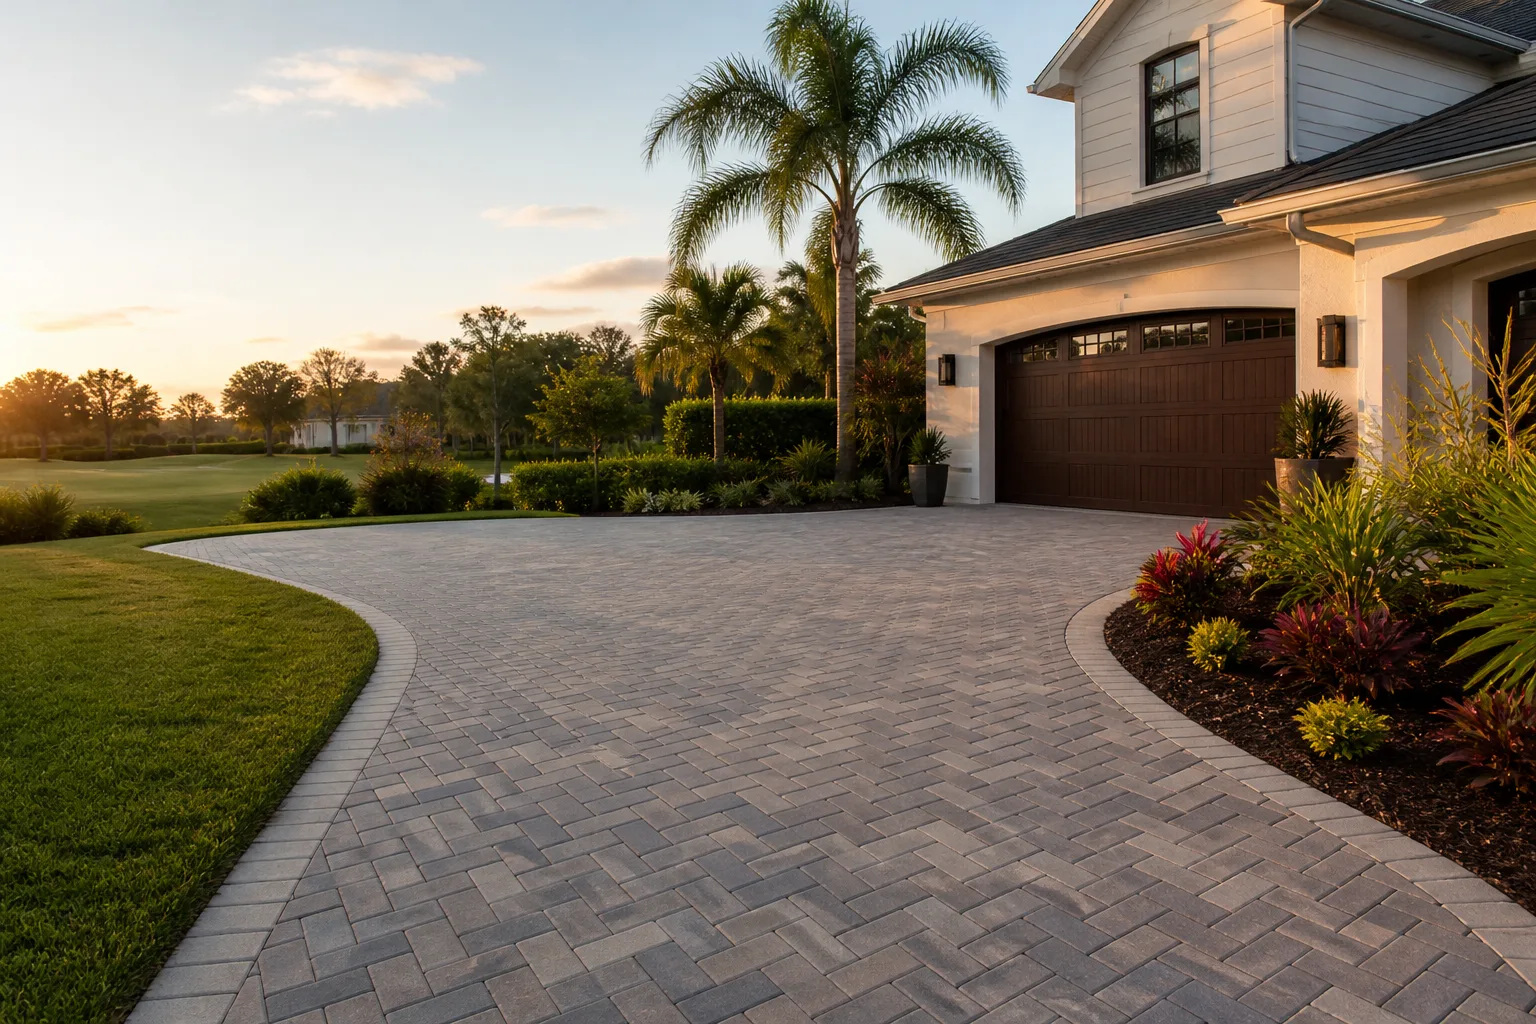
Most paver driveways don’t fail all at once. They fail from the joint down. The polymeric sand that locks each paver in place has a working life of roughly three to five years under South Florida’s sun and rainfall, and when it starts to break down, nobody notices until the weeds and ant trails show up. By then the sand is already gone and the pavers are shifting. This checklist walks you through a maintenance sequence built for Coral Gables’ wet and dry seasons, so you can catch each failure point before it turns into a full replacement. We’ll cover what to look for, what to clean with, and when a driveway genuinely needs to be pulled and releveled.
Quick Answer
Paver maintenance in Coral Gables follows a wet-season and dry-season rhythm, not a four-season calendar. Every spring, inspect the joints and re-sand where the polymeric sand has thinned; every fall, clean off organic staining from canopy trees and check for settled or rocking pavers. Seal on a two-to-three-year cycle, and address subbase movement the moment you see it, because no amount of sand or sealer fixes a paver that has lost its foundation.
Styles & brands we work with
- Kitchen remodeling
- Bathroom remodeling
- Home additions & ADU
- Roofing
- Windows & doors
- Driveway & pavers
- Fence
Table of Contents
- Season-by-Season Maintenance for Coral Gables’ Wet and Dry Cycle
- How to Spot Polymeric Sand Failure Before Weeds and Ants Do
- Efflorescence vs. Real Paver Degradation: What You’re Actually Looking At
- Why Coral Gables’ Canopy Trees Stain Pavers More Than You Think
- The Right Cleaning Chemistry for Paver Surfaces
- Re-Sand and Seal vs. Pull and Relevel: Which Does Your Driveway Need?
- A 10-Minute Inspection You Can Run Yourself
Season-by-Season Maintenance for Coral Gables’ Wet and Dry Cycle
South Florida runs on two seasons, and your pavers feel both differently. The wet season loads the joints with water, drives organic debris into the gaps, and pushes sand out through runoff. The dry season bakes the surface, hardens any remaining sand, and lets sun exposure fade the color. That means the maintenance calendar should be built around those two swings, not around the generic spring-summer-fall-winter checklist you’ll find on most national paving sites.
Here’s the sequence we walk homeowners through across a full year in Coral Gables:
- Late dry season (March-April): Deep-clean the surface to strip the winter’s accumulated organic staining and check the joints for sand loss. This is the ideal window for re-sanding before the rains arrive, because fresh polymeric sand needs a stretch of dry weather to cure properly.
- Early wet season (May-June): Walk the driveway after the first hard rains and mark any paver that rocks, dips, or holds a puddle. Standing water in one spot is one of the earliest signs of a settling subbase, and it’s much cheaper to address now than after a full season of water working under the pavers.
- Mid wet season (July-September): Spot-clean instead of deep-clean. Pull weeds the moment they appear, because in wet soil they root fast and widen the joints as they grow. Keep the driveway clear of leaf litter so decomposing organic material doesn’t turn into tannin staining.
- Late wet season (October-November): Re-inspect the joints and top off any depleted polymeric sand in high-traffic areas like the apron and the turn-in. If your driveway is due for a sealer coat, this is generally the most forgiving window, with lower rainfall and lower sun intensity.
- Dry season (December-February): Light maintenance only. Sweep regularly, keep leaf litter off the surface, and avoid heavy pressure washing that can blow out what sand remains in the joints.
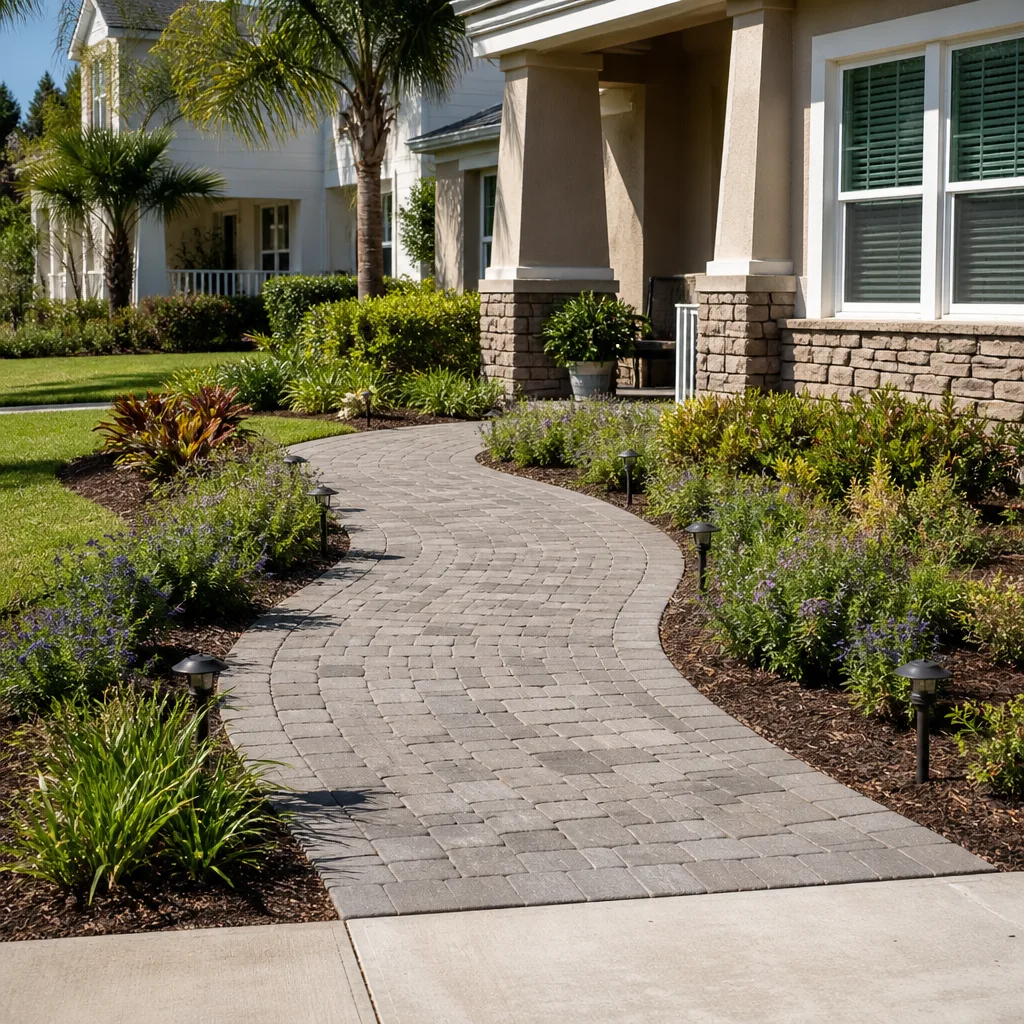
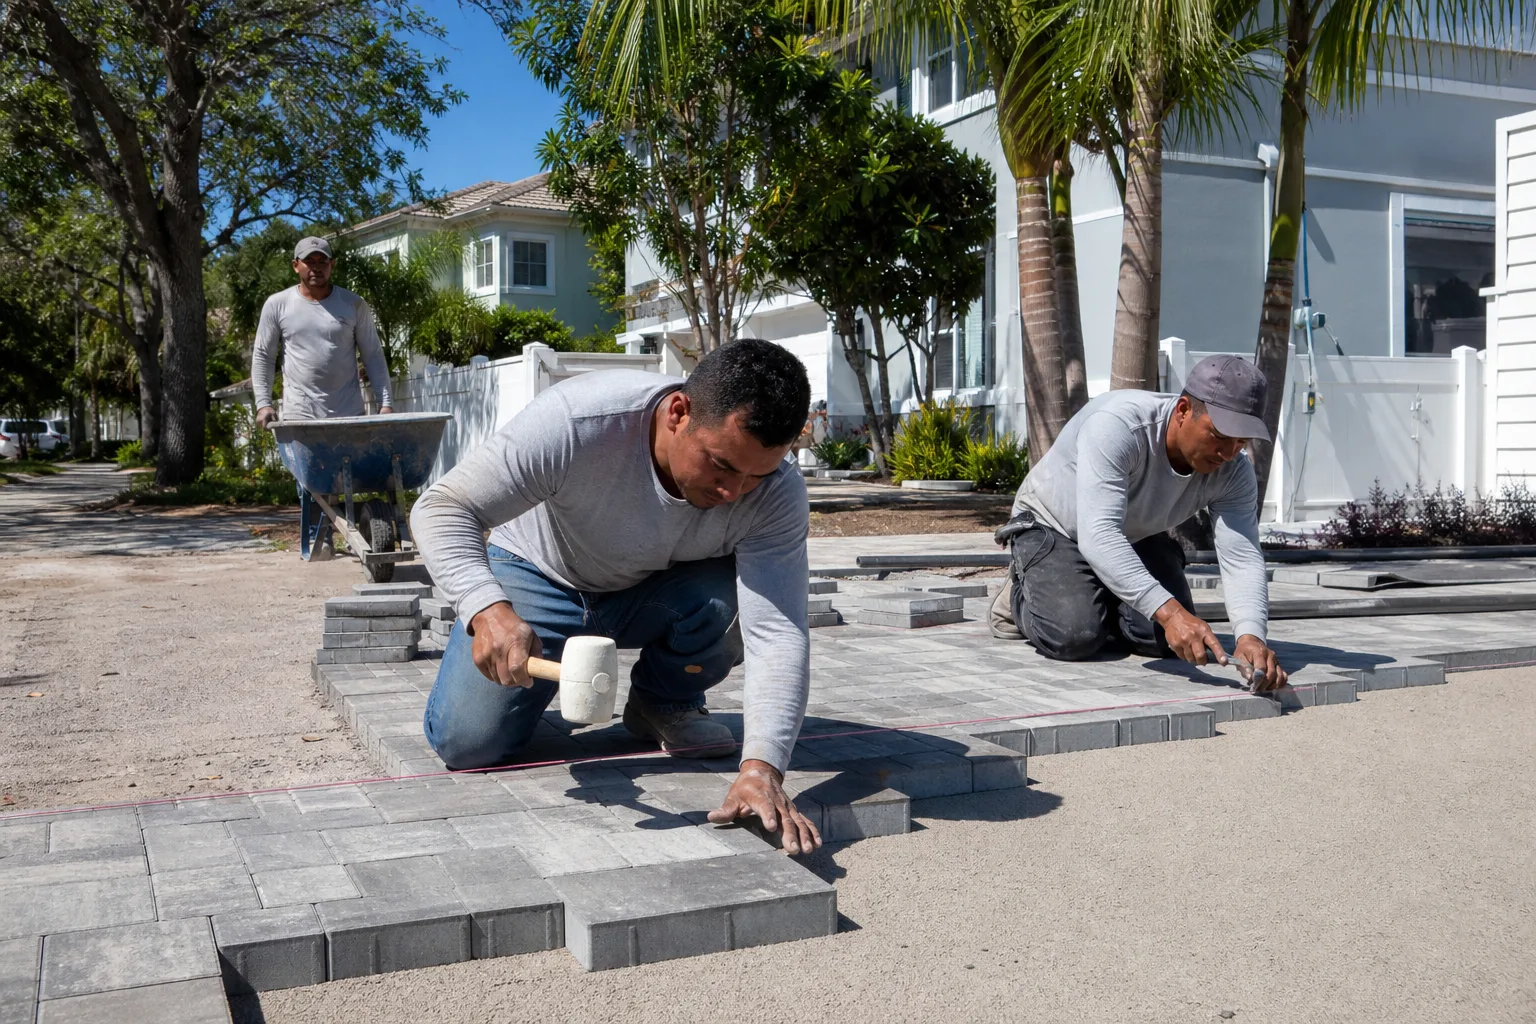
If you’re extending a driveway, adding a paver walkway, or reworking the whole front approach, our driveway & pavers work covers everything from subbase preparation through final jointing and sealing, so the maintenance clock starts from a correct base.
How to Spot Polymeric Sand Failure Before Weeds and Ants Do
Polymeric sand failure is visible long before the weeds show up, but only if you know what you’re looking at. The best time to check is on a dry, sunny day when the surface is fully cured. Here’s what to look for, in order of severity:
- Surface texture change: Healthy polymeric sand feels firm and slightly rough underfoot. When it starts to fail, it goes gritty and loose, like fine dry powder sitting in the joint.
- Joint depth: On a fresh install, the sand sits nearly flush with the paver chamfer. Once it’s worn down, you can see a visible channel between pavers, even a quarter-inch of depth is a signal to re-sand.
- Hairline cracking along the joint: Fine cracks running the length of the joint mean the polymer binder has begun to break. This is the stage where water starts getting in and the next round of failures begins.
- Paver edge chipping: Once the sand is gone, pavers lose their side support and start to shift under load. Chipped and spalled edges around the driveway apron and wheel paths are a late-stage warning sign.
- Ant trails and small weeds: These are the last warning signs, not the first, but they’re the ones most people notice. By the time you see them, the sand bed is usually depleted and re-sanding is overdue.
In our experience across Coral Gables driveways, the number one reason polymeric sand fails early is lack of proper compaction and joint filling during installation. If the joints weren’t filled completely and properly activated, the polymer never binds the full depth, and the whole jointing layer starts to break down within a couple of years instead of the expected three to five. Customers who’ve never had a detailed conversation with their installer about the specific polymeric sand product used should assume the shorter end of that range.
Efflorescence vs. Real Paver Degradation: What You’re Actually Looking At
Two things look similar from a distance and are completely different in what they mean: efflorescence and paver degradation. Efflorescence is a white, powdery salt deposit that appears on the surface of the paver as moisture migrates through the concrete and evaporates, leaving mineral residue behind. It looks alarming, but it’s a surface symptom, not structural damage. A properly formulated efflorescence remover, applied to a dry surface, will clear it, and it usually doesn’t come back once the paver has finished its initial curing cycle.
Paver degradation looks different. Here’s how to tell them apart:
- Efflorescence: White and powdery, sits on top of the surface, brushes off partially, returns in patches after rain, most common in the first year after installation.
- Degradation: Surface pitting, spalling, or crumbling at the edges. Feels rough or sandy to the touch, doesn’t wash away, and gets worse with each wet season. Often concentrated where vehicles turn their wheels or where de-icing salts (rare in Coral Gables, but seen on pavers brought from up north) have been used.
- Color loss: Uniform fading from sun exposure is cosmetic. Blotchy, uneven lightening in streaks is more likely a sign of moisture or chemical damage and worth a closer look.
Efflorescence you can handle yourself with the right product. Degradation is a professional call, because it usually means the paver batch itself has an issue or the surface has been damaged by aggressive pressure washing or the wrong cleaners. If you’re seeing pitting or surface crumbling across more than a few pavers, it’s worth having a contractor look at it before the problem spreads.
Why Coral Gables’ Canopy Trees Stain Pavers More Than You Think
Coral Gables is famous for its mature tree canopy, and those trees are wonderful until you own a light-colored paver driveway underneath them. Two things happen. First, leaf litter and small seed pods fall continuously through the wet season, and as they decompose on the surface, they release tannins, the same compounds that turn water brown in a forest stream. Second, the tree canopy keeps the pavers damp longer after rain, which slows drying and gives organic material more time to work into the joint sand and the paver pores.
Lighter-colored pavers, which are common on Coral Gables homes for their heat-reflective quality, show this staining the most. Tannin stains look like brownish streaks or blotches that don’t brush away, and if left long enough, they soak below the surface and become much harder to lift. In our experience, driveways under heavy canopy need cleaning about twice as often as open-sky driveways, and the cleaning chemistry matters more.
What works best for canopy-driven organic staining:
- Oxygen-based cleaners for general organic staining, safe for most paver types and gentle on jointing sand.
- Specialty tannin removers for the deeper brown staining under oak and mahogany canopies. These are formulated to break the bond tannins form with the paver surface.
- Regular sweeping during the wet season, before leaf litter has a chance to sit and decompose.
What to avoid: muriatic acid on tannin stains (ineffective, and it degrades the paver surface and joint sand), and high-pressure washing at close range (it strips joint sand and accelerates the failure sequence).
The Right Cleaning Chemistry for Paver Surfaces
Cleaning chemicals are where a lot of homeowners accidentally cause the damage they’re trying to prevent. The wrong product strips joint sand, etches the surface, or leaves a residue that attracts more dirt. Here’s a practical guide for Coral Gables conditions:
- For general dirt and light organic staining: A pH-neutral paver cleaner diluted per the manufacturer’s instructions, applied with a low-pressure sprayer or a soft-bristle brush, then rinsed. This is the safe default.
- For tannin and leaf-stain removal: An oxygen-based cleaner, allowed to dwell for the recommended time, then scrubbed and rinsed. It won’t damage the joint sand if you follow the dwell time.
- For efflorescence: A dedicated efflorescence remover, applied to a dry surface, worked in with a brush, and rinsed thoroughly. Don’t use it as a general cleaner; it’s for mineral deposits only.
- For oil and grease spots: A poultice-style absorbent cleaner, left to draw the stain out over hours, rather than aggressive scrubbing.
- For stubborn organic growth (moss, algae in shaded areas): A dilute sodium hypochlorite solution applied sparingly and rinsed immediately. Avoid on colored pavers, as it can fade pigment.
Whatever you use, always test on a small hidden area first and always rinse thoroughly. Leftover chemical residue on a paver surface is a magnet for new staining. And skip the pressure washer at full blast on the joints; a gentle fan tip at a shallow angle is the most aggressive you should go. If you’re not sure what’s safe for your specific paver, call us and we’ll point you to the right product.
Re-Sand and Seal vs. Pull and Relevel: Which Does Your Driveway Need?
This is the decision that separates a maintenance call from a full replacement, and it comes down to where the failure is. If the joints are depleted but the pavers themselves are stable, rocking-free, and sitting flush with each other, then re-sanding plus a fresh sealer coat is the right move. If the pavers are rocking underfoot, sinking into a dip, holding puddles in one spot, or showing a visible wave pattern across the surface, the problem is in the subbase, and no amount of sand or sealer will fix that. The driveway has to come up, the base has to be corrected, and the pavers reset.
The distinguishing test is straightforward:
- Re-sand and seal if: Joint depths are visible on more than 20% of the surface, but the pavers themselves don’t move when you walk across them.
- Pull and relevel if: Any paver rocks underfoot when you press the corner, or there are low spots where water stands for hours after rain.
- Pull and relevel if: There’s a visible ridge or wave pattern in the driveway. This means the base has shifted across a wider area, not just under one paver.
- Investigate further if: You see joint sand washing out rapidly after every rain. That can mean the water has nowhere to drain and is finding its way under the pavers.
Sealing is a protection step, not a repair step. A sealer applied over failing joints locks the problem in rather than fixing it. Always re-sand first, let the polymeric sand cure fully, then seal. In Coral Gables’ wet climate, we generally recommend sealing every two to three years, or every other season if the driveway sits under heavy canopy cover. For more on full installs and rebuilds, our driveway & pavers team can walk you through the base preparation that makes a relevel last. If you’re planning an addition or detached structure and want the hardscape to match, our home additions & ADU work covers the full scope, including the paver approach up to the new entry.
A 10-Minute Inspection You Can Run Yourself
You don’t need special tools to spot most of the early warning signs. Run this check at the start of each wet season and each dry season:
- Walk the whole driveway in soft shoes and note any paver that rocks or feels slightly higher or lower than its neighbors. Mark them with a piece of chalk.
- Run your finger along a few joint lines and see how loose the sand feels. Gritty and powdery means re-sanding is coming.
- Look for low spots after rain. A puddle that lingers more than an hour or two is telling you the base has moved.
- Inspect the apron and turn-in for chipped or spalled paver edges. These take the most load and fail first.
- Check under any canopy trees for brown tannin streaks that haven’t brushed off with a stiff broom.
- Look at the drive edge where it meets the lawn for signs of soil washing out. That’s often the first place subbase erosion shows.
- Note any new weed growth in the joints and pull it immediately, roots and all.
Note the findings and compare them to the previous check. If the list is growing, it’s time for a professional assessment. If it’s steady or shrinking, your maintenance routine is working.
Common Mistakes to Avoid
- Sealing over depleted joints: A sealer locks in a bad sand base. Always re-sand first, let the polymeric sand cure for the full manufacturer-recommended window, then seal.
- Using muriatic acid as a general cleaner: It’s an effective efflorescence remover in the right hands, but used broadly on pavers it degrades the surface, attacks joint sand, and dulls color.
- Ignoring the first rocking paver: One rocking paver is a subbase warning, not a one-off. Left alone through a wet season, it becomes three, then ten.
- Pressure washing at full blast on the joints: This is the fastest way to strip fresh polymeric sand. Use a low-pressure fan tip and a shallow angle, or a soft-bristle brush.
- Skipping the wet-season leaf sweep: In Coral Gables, leaf litter left on a light paver surface through the wet season will stain it permanently. A weekly sweep during the rainiest months saves a full deep-clean later.
- Assuming color fade means the pavers need replacing: Uniform fading is cosmetic and often reversible with a color-enhancing sealer. Blotchy fading and pitting are the real concern.
- Buying the wrong polymeric sand: Not all polymeric sands are formulated for Florida’s UV and humidity. A product designed for a northern climate can fail in a couple of seasons here.
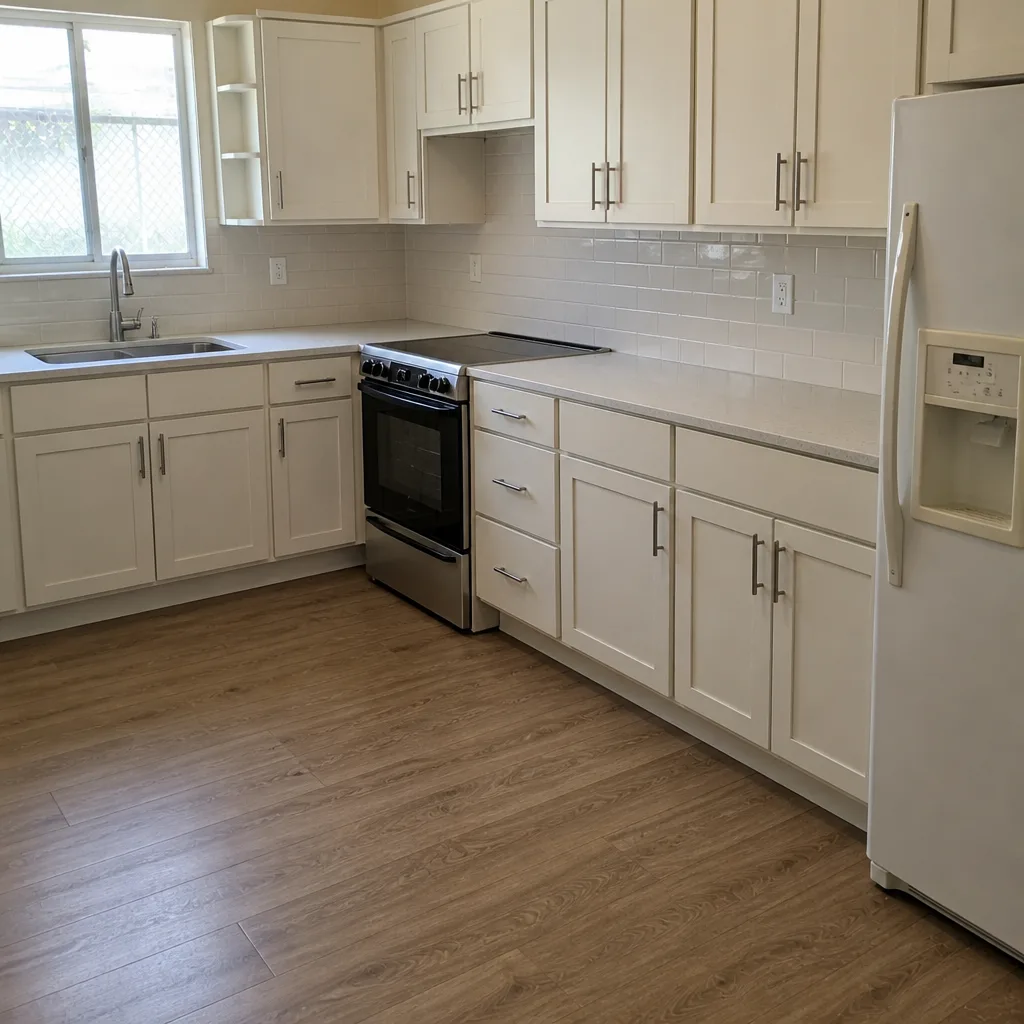
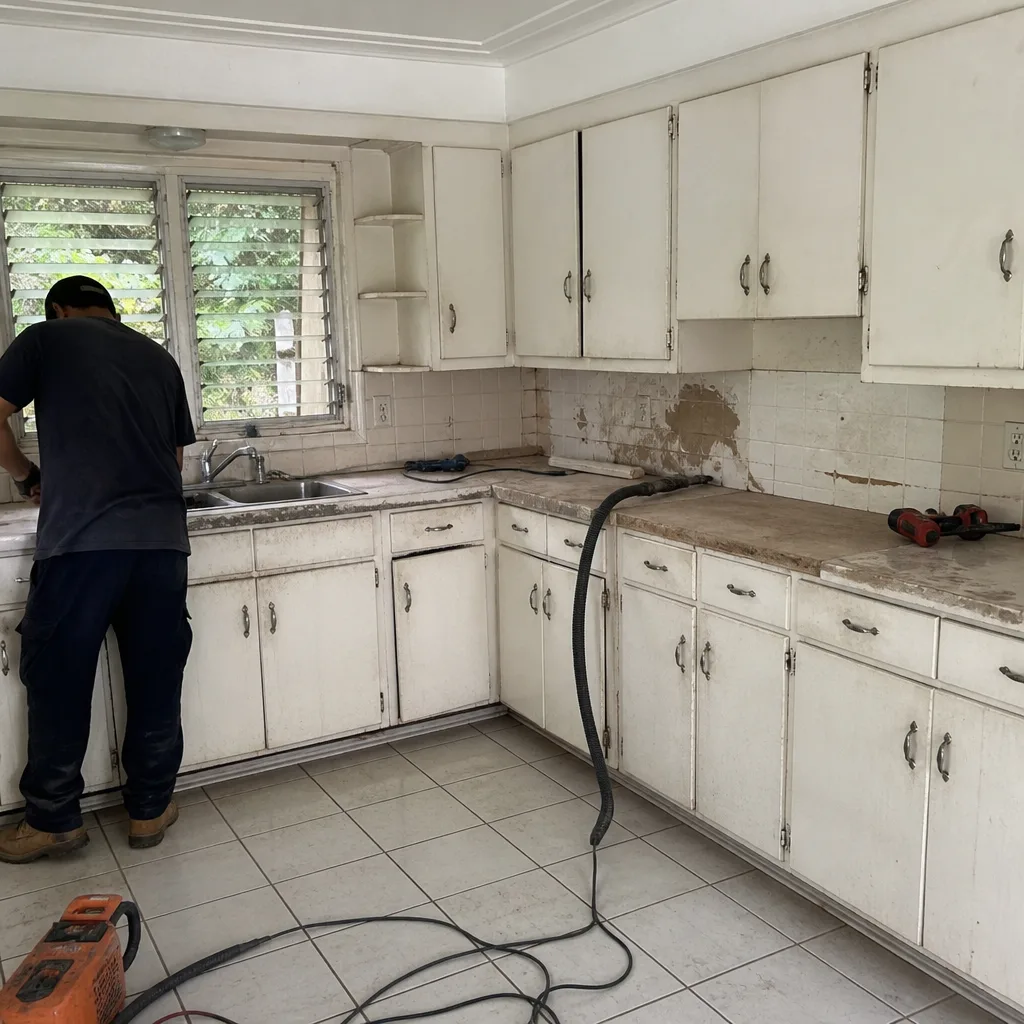
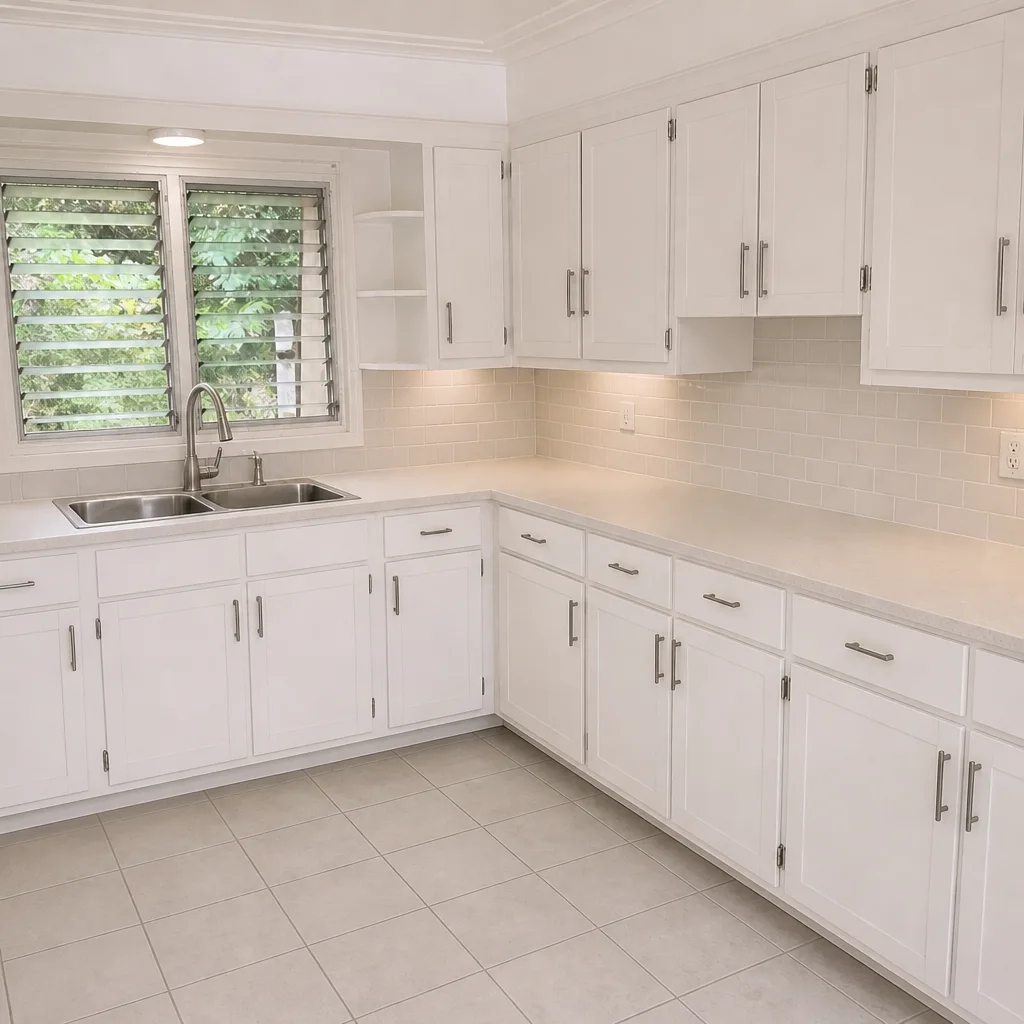
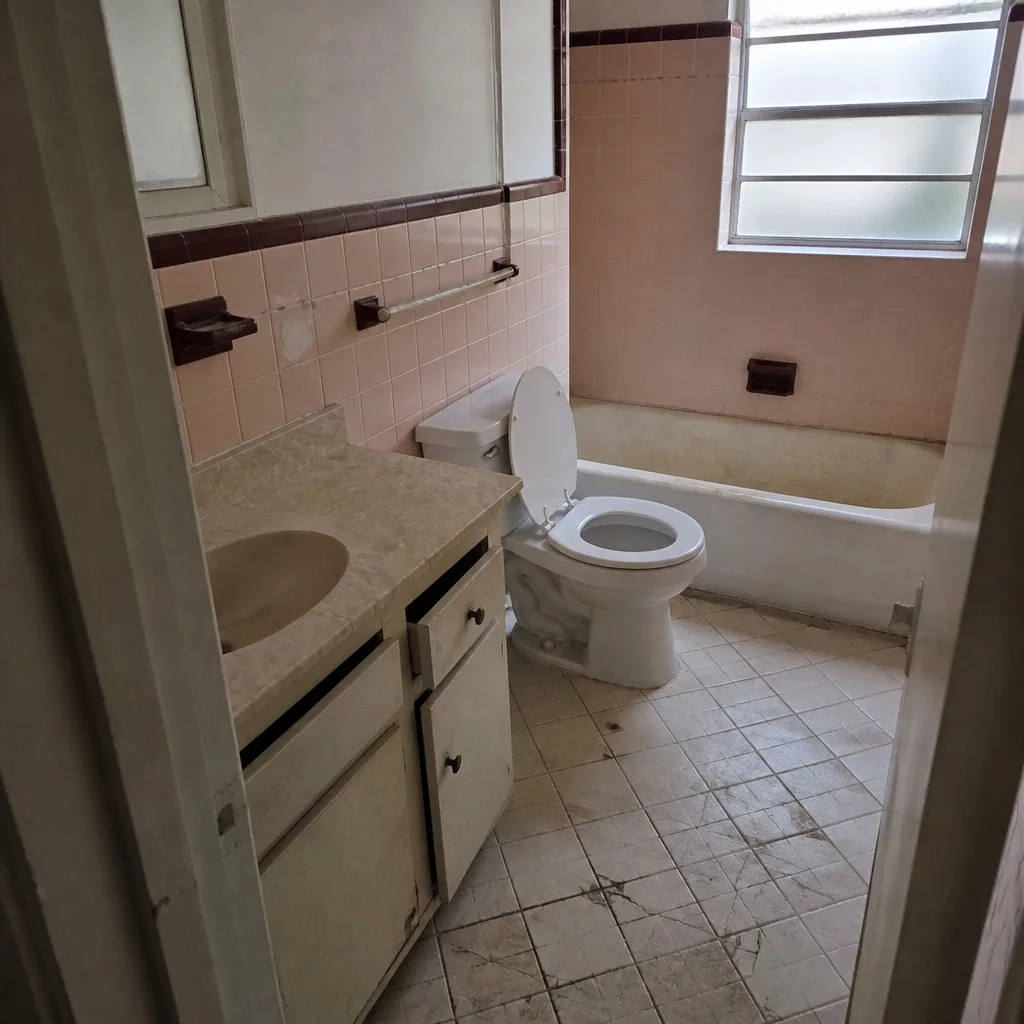
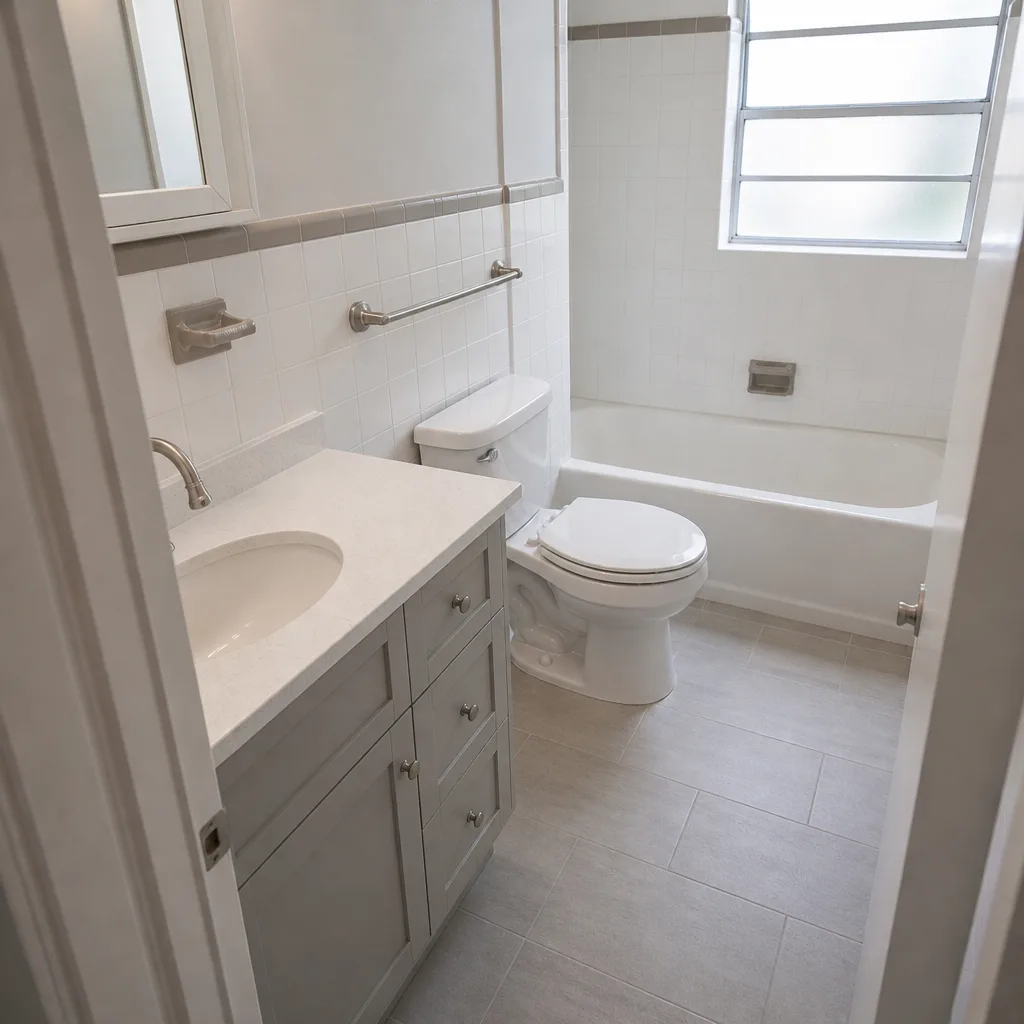
See the difference
 Before
 After
 Before
 After
 Before
 After
When to Call a Professional
There are clear points where the maintenance checklist shifts from DIY to a call. If any paver rocks underfoot, if water stands in a low spot for hours after rain, if there’s a visible ridge or wave in the surface, or if you’re seeing chipped edges across more than a handful of pavers, the problem is in the subbase or the original install, and it needs to be pulled and releveled correctly. The same goes for widespread efflorescence that keeps returning, or surface pitting that’s spreading. Coral Gables Construction offers free estimates in Coral Gables, so it costs you nothing to get a straight answer on whether your driveway needs a maintenance visit or a rebuild. Call (844) 797-9523. We answer 24/7. Fast dispatch from 7am to 7pm, Sunday through Friday.
Frequently Asked Questions
Re-sand every two to three years in most Coral Gables driveways, and every 18 months if the driveway sits under heavy canopy or takes a lot of vehicle traffic. The right time to re-sand is when you see joint depth opening up, not after the weeds appear. If the sand is thin but the pavers are stable, a maintenance re-sand plus seal extends the life of the driveway significantly. Call (844) 797-9523 for a free estimate on re-sanding and sealing.
That chalky white look is almost certainly efflorescence, a natural salt deposit that surfaces as moisture moves through the concrete paver. It’s cosmetic, not structural, and a dedicated efflorescence remover will clear it. It’s most common in the first year after installation. If the chalky surface is pitted or crumbling rather than powdery, that’s a different issue and worth a professional look. Call (844) 797-9523 for a free assessment.
Yes, sealing is worth it in South Florida because it slows UV fading, resists organic staining from canopy trees, and helps the polymeric sand hold up through heavy rainfall. Seal on a two to three year cycle, always after a fresh re-sand. Sealing over failing joints wastes the sealer and locks in the problem. Call (844) 797-9523 for a free estimate on re-sand and seal.
You can, with a low-pressure fan tip held at a shallow angle, but full-blast pressure washing on the joints will strip the polymeric sand and accelerate failure. If your pavers are freshly sanded or you’re seeing chipping, leave it to a professional who knows the safe pressure range for your paver type. Call (844) 797-9523 for a free estimate on professional cleaning.
If any paver rocks underfoot, if you see a visible low spot where water stands after rain, or if there’s a ridge or wave pattern in the surface, the subbase has shifted and the driveway needs to be pulled and releveled. Joint refill and sealing won’t fix a subbase problem. Call (844) 797-9523 for a free estimate and we’ll tell you which maintenance track your driveway is on.
Late wet season and early dry season, generally October through December, is the most forgiving window for sealing in Coral Gables. Lower rainfall and less intense sun give the sealer time to cure evenly. Avoid sealing right before heavy rain is forecast, as it can cloud or fail. Call (844) 797-9523 to schedule a free estimate and time the job right.
The Bottom Line
Paver maintenance in Coral Gables is a matter of staying a step ahead of the joint sand. Check the joints twice a year, sweep the leaf litter off during the wet season, clean with the right chemistry for tannin and efflorescence, and re-sand before weeds and ants show up. Seal on a two to three year cycle, and treat any rocking paver as a subbase warning, not a small nuisance. Done in that order, a well-installed driveway can last for years. Done out of order, and you’ll be releveling or replacing much sooner than you should.
Coral Gables Construction is a full-scope residential contractor, from the driveway to the roofline, with named brand options across pavers, roofing, windows, cabinetry, and ADU systems so you can compare specifications rather than take what’s offered. Our technicians have up to 12 years of experience. If your paver driveway needs re-sanding, sealing, cleaning, or a full rebuild, and you want a written estimate before any work begins, call (844) 797-9523. We answer 24/7. Fast dispatch from 7am to 7pm, Sunday through Friday. Free estimates, and we’ll tell you honestly which maintenance track your driveway is on.
Written by the team at Coral Gables Construction.