Last updated November 17, 2026


Free written scope consultation - allowances, timeline, and change-order rules on paper before a single trade is scheduled
Driveway & Pavers Troubleshooting in Coral Gables: Common Problems and How to Fix Them
If your pavers are sinking near the garage apron but nowhere else, you almost certainly have a drainage pipe issue, not a base failure. Replacing those pavers without fixing the pipe means you’ll be doing it again in 18 months. That single distinction separates a $600 repair from a $14,000 reinstall, and most Coral Gables homeowners never hear it until after they’ve paid for the wrong fix. In this guide we’ll show you how to read what your driveway is telling you. You’ll learn which symptoms are cosmetic and which are structural, how South Florida’s rainy season reshapes a poorly drained driveway, and where honest repair stops and a real reinstall begins.
Quick Answer
Most paver problems in Coral Gables fall into two buckets: surface issues like eroded joint sand and white efflorescence, which are fixable with cleaning and re-sanding, and structural issues like base settlement or a broken drainage pipe, which need the subsurface problem corrected before any paver is reset. A trained eye can usually tell the difference in minutes by looking at displacement patterns, water staining, and where the sinking is concentrated. Getting that diagnosis right the first time is what keeps you out of the same repair loop after the next storm season.
Styles & brands we work with
- Kitchen remodeling
- Bathroom remodeling
- Home additions & ADU
- Roofing
- Windows & doors
- Driveway & pavers
- Fence
Table of Contents
- How to Read Your Pavers Before You Call Anyone
- Why Are My Pavers Sinking in Coral Gables?
- Weed Growth Between Pavers: What It’s Really Telling You
- White Chalky Stains and Efflorescence
- Drainage Failures South Florida’s Rainy Season Creates
- Repair or Reinstall? The Honest Answer
- What a Proper Post-Repair Inspection Should Cover
- Choosing the Right Paver Material for Coral Gables
How to Read Your Pavers Before You Call Anyone
Pavers don’t fail randomly. Every visible problem is a message from something happening underneath or between the units, and the location of the symptom tells you which. Before you pick up the phone, walk your driveway slowly and note three things: where the problem sits, whether it spreads, and whether it changes after rain. Those three notes will save you from paying for a diagnosis you could have made yourself.
Here’s the basic triage we run through, and you can run it too:
- Localized displacement. One low spot, or a line of settling near a specific feature like the garage apron or a downspout outlet. This points to a subsurface problem: a failing pipe, a washed-out base, or a void beneath the pavers.
- Broad, even settlement. The whole driveway is slowly dropping toward the street or a corner. This usually means a base compaction failure or an original base that was too thin.
- Loose or shifting units with intact base. Individual pavers rock when you step on them. Often this is joint sand loss, not a base failure.
- Staining and efflorescence. White or rust-colored film that appears and fades with weather. This is a moisture and mineral issue, not a structural one.
- Vegetation in the joints. Weeds between pavers point to degraded joint sand, not to the pavers themselves.
In Coral Gables, our rainy season compresses the time between “small problem” and “obvious problem.” A base void that would sit quietly for a year in a drier climate can open up visibly in a few weeks of heavy afternoon rain. That’s why reading the symptoms early matters more here than almost anywhere.
Why Are My Pavers Sinking in Coral Gables?
Pavers sink for three reasons: the base beneath them failed, water is moving soil out from under them, or the edge restraint that holds the whole field together has given way. Almost every sinking driveway in Coral Gables traces back to one of those three. The location of the sink tells you which one you’re dealing with.
Settlement Near the Garage Apron or a Downspout
If the sinking is concentrated in a band near the garage apron, along a downspout discharge point, or in a low line that runs across the driveway, suspect a drainage pipe. Older drain lines under driveways can crack, separate at joints, or collapse. Water escapes into the base material and carries fine soil away, creating a void that the pavers slowly drop into. The pavers look like the problem. They aren’t. We’ve seen homeowners pay for new pavers over a cracked pipe more than once, and the sinking returns within a season or two.
Settlement Along the Edges
When the outer row of pavers is dropping away from the field, the edge restraint is usually the culprit. Concrete or plastic edge restraints hold the entire field in compression. Once one gives way, the pavers nearest it spread and settle. Edge repairs are far cheaper than a full reinstall.
Settlement Across the Whole Field
A driveway that’s dropping uniformly was probably built on a base that wasn’t compacted correctly, or on a base that’s too thin for the traffic it carries. This is the one sinking pattern where a full rebuild is often the honest answer.
Before you get an estimate, ask the contractor one specific question: “What’s causing the settlement, and how will you verify it before you reset the pavers?” If the answer doesn’t involve opening the surface or checking drainage, keep calling.
Weed Growth Between Pavers: What It’s Really Telling You
Weeds between pavers in South Florida mean one thing: the polymeric sand in your joints has degraded and is no longer sealing the gap. The installation was probably fine. Polymeric sand breaks down over years of rain, sun, and traffic, and once it does, moisture and organic matter collect in the joint and grass and weeds move in. That’s a maintenance reality of the material, not a mistake the installer made.
The fix is a proper re-sanding, but the difference between a fix that lasts and one that doesn’t is all in the preparation:
- Remove the old sand completely. Pressure-wash out the degraded material from the full joint depth. Sprinkling new sand over old is why the weeds come back in months.
- Dry the surface. Polymeric sand won’t cure correctly over trapped moisture. Give the driveway a dry window after washing.
- Fill to the correct depth, not just flush to the surface. The joint needs to be filled nearly to the top for the sand to lock the pavers together.
- Compact and activate. The surface gets compacted, sanded again if low spots appear, then misted to activate the polymer binder.
- Leave it alone. Stay off the driveway for the manufacturer’s cure window so the binder sets properly.
We keep multiple paver lines on hand so homeowners can match an existing driveway when a repair section is needed, including Belgard, Unilock, and Tremron. Matching the original color lot matters more than most people realize; a mismatched patch is visible for years.
White Chalky Stains and Efflorescence
Efflorescence is a white, powdery film that appears on the surface of concrete pavers, block, and some mortars when soluble salts migrate to the surface with moisture and then dry as a deposit. It’s a moisture and mineral issue, not a structural defect. It looks alarming. It’s almost always cosmetic, and it can be managed.
Why It Appears More Often in Coral Gables
Our wet-dry cycle is the engine that drives efflorescence. Pavers absorb moisture during heavy rain, then dry under strong sun, and salts move toward the surface in the process. New pavers and new mortar beds effloresce more because the material is actively curing and releasing moisture. The problem usually peaks in the first year and then settles.
How to Handle It
- Don’t seal over it. Sealing a pavers surface while it’s still efflorescing traps the moisture and makes it worse. The salts need to escape.
- Clean with an efflorescence-specific cleaner rather than a general pressure wash. Plain water can push salts back into the surface.
- Brush it off dry first if the deposit is light. Wait a few weeks and see if it returns.
- Check where moisture is entering. If efflorescence keeps returning to one section, water is feeding it from somewhere. Fixing the water source is the real solution.
Persistent efflorescence concentrated in one spot is a symptom, not a cleaning problem. In that case, the moisture is coming from below, and the source needs to be identified.
Drainage Failures South Florida’s Rainy Season Creates
South Florida’s summer rain is sudden, heavy, and short. A driveway that drains adequately across a whole dry season can fail within a few weeks of the first real storms. The reason is volume and speed: water arrives faster than the surface or the subsurface drainage can move it. When that happens, it finds the weakest point, and it usually finds it under the pavers.
The Four Patterns to Know
- Ponding on a flat section. Standing water that lingers more than a few hours after rain means the surface has lost its slope. Usually this traces back to settlement at the low point.
- Sinking along a linear path. A visible line of depressed pavers, especially one that runs across the driveway, usually means a failed drain pipe or a broken utility line beneath.
- Mud or sediment washing up through joints. This means base material is being carried away by water beneath the pavers. It’s the clearest sign of a subsurface drainage failure.
- Water pooling at the edge restraint or against the house. Surface drainage that once worked has been redirected by settlement or a backed-up downspout.
The wrong move on most of these is to add sand or reset pavers over the wet spot. Without fixing the drainage path, the water keeps moving and the settlement returns. That’s the pattern we see most often: a driveway that gets repaired three times without anyone addressing the actual drainage issue.
Repair or Reinstall? The Honest Answer
A repair is the right answer when the cause is localized; a full reinstall is the honest answer when the base or drainage beneath the entire field has failed. The decision comes down to three questions:
- How much of the field is affected? One section, or the whole driveway?
- Is the base under the affected section intact? If it’s compacted, dry, and stable, resetting pavers over a fixed cause will hold. If it’s saturated or washed out, it won’t.
- Is the drainage system working? If the drainage that caused the problem is now fixed, repair works. If the drainage wasn’t fixed, no repair will last.
Section-by-section reinstall becomes the right answer when the affected area is large enough that reusing existing pavers would leave visible color mismatches and when the base has failed across the section. In that case the honest move is to pull up the whole section, rebuild the base correctly, verify the drainage, and reinstall.
Two local realities push toward full reinstall on some Coral Gables properties. First, older homes often have pavers installed over a base that was sized for a much smaller vehicle load than what’s on the driveway now. Second, some driveways here sit over old utility or irrigation lines that were never protected during installation, and a failing line under a new base will eventually find its way up. When a contractor is honest with you about either of those, that’s a good sign.
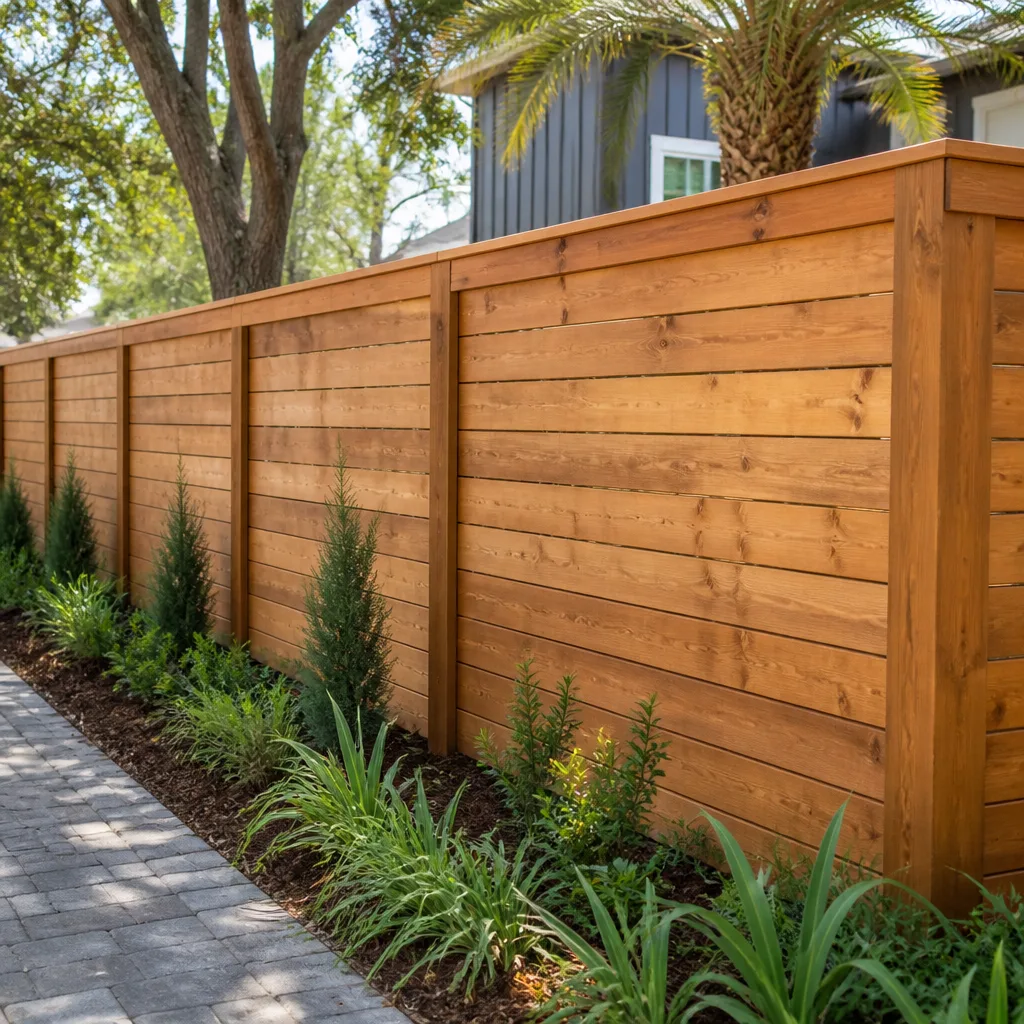
If the surrounding exterior is also due for work, it’s worth looking at the whole property in one pass. We handle driveway & pavers alongside fence installation, and one contractor coordinating both keeps the finish lines and drainage consistent.
What a Proper Post-Repair Inspection Should Cover
The reason most paver repairs fail is that the inspection after the work is too shallow. A proper inspection checks far more than whether the pavers are flat. It verifies that the cause was fixed, the correction is stable, and the system that created the original problem is now working. Here’s what a real post-repair inspection covers:
- Flatness across the field. A straightedge or level across multiple points, not just an eyeball look at the surface.
- Joint sand depth and fill. Joints should be fully packed to the top. Gaps mean a re-sand is due, not later.
- Water test. Water applied to the repaired area should drain away within minutes, not pool. If it pools, the slope or the drainage isn’t right yet.
- Edge restraint integrity. The edge should be tight and holding. Loose or rocking edge units will eventually let the whole field spread.
- Subsurface drainage verification. If a pipe was repaired or replaced, the drain should be tested to confirm water reaches the discharge point, not just that it disappears near the repair.
- Paver interlock. Check that the repaired section keys into the existing field. If it doesn’t, that joint will fail first.
Ask for the water test specifically. It’s the one step that catches a repair that looks fine but won’t survive the next storm season. A contractor who performs it and walks you through the results is one to keep.
Choosing the Right Paver Material for Coral Gables
The paver you choose affects how often you’ll be dealing with the problems in this guide. Concrete pavers, clay brick pavers, and natural stone each behave differently under South Florida rain and sun, and the joint material matters as much as the paver itself. We spec pavers by name rather than by category, which lets you compare the same product family across multiple manufacturers before you commit. That’s a different conversation than “we use pavers,” and it’s how homeowners avoid being locked into whatever the contractor happens to stock.
In our experience, the paver lines that hold up best in Coral Gables properties are the ones with strong edge restraint systems and consistent joint geometry, because both make the polymeric sand last longer and the field more forgiving of the settlement that all pavers eventually experience. Belgard, Unilock, and Tremron each offer systems in that class. The differentiator isn’t the paver alone; it’s how it’s installed and what happens beneath it.
If your driveway project grows into a larger exterior plan, the same coordination thinking applies. From the driveway to the roofline, Coral Gables Construction handles the hardscape and the rest of the home as a single accountable contractor. That matters most when the repairs reveal a bigger story, like failed drainage feeding into a fence line, or a driveway that needs to be re-sloped in coordination with a new addition. If you’re planning that larger project, it’s worth reading up on home additions & ADU work before the driveway gets rebuilt, so both projects share a plan.
Common Mistakes to Avoid
- Resetting pavers without finding the cause. The new surface looks right for a season, then the sinking returns. Always verify drainage and base before re-laying any section in Coral Gables.
- Sealing a pavers surface that’s still efflorescing. Sealing traps moisture and makes the white film worse. Wait for the salt to stop appearing before any sealer goes down.
- Sprinkling new polymeric sand over the old. The joint needs the old material removed to the full depth. Topping off is why weeds return within months.
- Ignoring edge restraint failures. Loose edges spread the whole field. Fixing the edges is one of the cheapest interventions available.
- Choosing stone by color alone. In South Florida, joint geometry and edge restraint compatibility matter more than the surface finish for long-term performance.
- Skipping the water test after repair. A flat surface that ponds after a rainstorm is a failed repair, even if it looks perfect dry.
- Treating efflorescence as a cleaning problem. Persistent white film concentrated in one area usually means moisture is entering from below, not from the surface.
See the difference
 Before
 After
 Before
 After
 Before
 After
When to Call a Professional
Call in a professional when the sinking is concentrated in one area and doesn’t respond to simple re-sanding, when water ponds on the driveway more than a few hours after rain, when you see sediment washing up through the joints, or when the edge pavers have spread away from the field. Those symptoms point to causes below the surface that a homeowner can’t safely diagnose or correct. We’d also recommend calling when a repair has already been done once and didn’t hold; that’s usually a sign the original cause was never addressed. Coral Gables Construction offers free estimates in Coral Gables. Call (844) 797-9523. We answer 24/7. Fast dispatch from 7am to 7pm, Sunday through Friday.
Frequently Asked Questions
It depends on the cause and scope, and the written estimate sets the final price. Targeted repairs, like resetting a small section or re-sanding joints, cost far less than a section-by-section reinstall, because the work, materials, and base correction are all smaller. The most important number to get first is the diagnosis. Call (844) 797-9523 for an exact quote; estimates are free.
Localized sinking almost always means a subsurface problem: a failed drainage pipe, a washed-out base void, or a broken edge restraint. If the sinking is concentrated near the garage apron, a downspout, or a line that runs across the driveway, drainage is the likely culprit. Get the cause confirmed before resetting pavers. Call (844) 797-9523 and we’ll diagnose it on-site; estimates are free.
Weeds mean the polymeric sand in your joints has degraded, so the fix is to remove the old sand completely, clean the joints, and re-sand with fresh polymeric sand to the correct depth. Topping off over the old material is why weeds come back in months. Call (844) 797-9523 to have the joints re-sanded correctly the first time; estimates are free.
Heavy, sudden rain compresses the timeline between “small problem” and “visible failure.” Water arrives faster than most surfaces can drain, so it finds the weakest point, usually beneath the pavers. The result is faster settlement and more frequent ponding during and after storms. If your driveway shows those patterns, call (844) 797-9523; estimates are free.
Not necessarily. If the base under the affected section is intact and the drainage that caused the problem has been fixed, a targeted repair is often the right answer. A full reinstall is the honest answer when the base has failed across a larger area or when the drainage beneath can’t be corrected without rebuilding. Call (844) 797-9523 for a free estimate and an honest scope.
The written estimate sets the price. We build the quote around a verified cause, not a guess, so the scope you approve is the scope you pay for. If the work reveals something the inspection couldn’t see, we discuss it before any additional work begins, never after. Call (844) 797-9523 to schedule your free estimate, and we’ll walk you through the whole quote before you decide.
The Bottom Line
Most driveway paver problems around Coral Gables aren’t random failures; they’re symptoms of one or two root causes that show up in where the damage sits and how it behaves after rain. Sinking in one spot means subsurface trouble. Broad settlement means a base problem. Weeds mean degraded joint sand. White film usually means moisture and efflorescence. Fix the cause, not the appearance, and you avoid the loop of repeated repairs that never seem to hold. When the diagnosis is right and the repair is tested, your driveway comes back and stays back. Call (844) 797-9523 for a free estimate. We answer 24/7. Fast dispatch from 7am to 7pm, Sunday through Friday.
Written by the team at Coral Gables Construction.